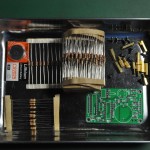
This is a log on building a big LED clock kit from China.
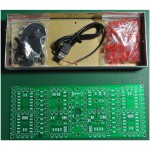
The kit is labled ECL-13 Big LED Clock Kit and contains three part, the clock part, the LED display part and the remote control part.
- The Clock
These are the pcb’s for the clock part.
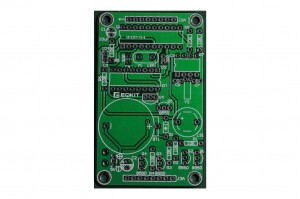
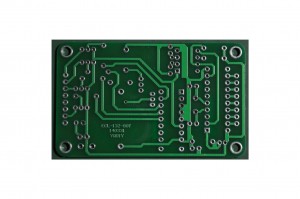
Now starting to solder this pcb.
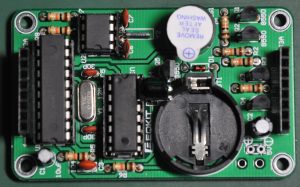
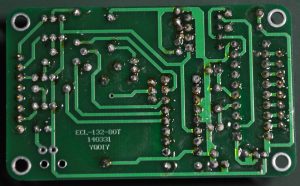
Above is the finished board.
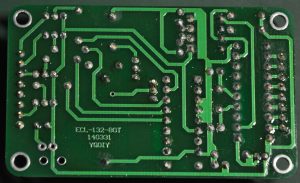
Board look nicer after washing. - The Display
These are the PCB for the display part. It has a lot of resistors and LEDs.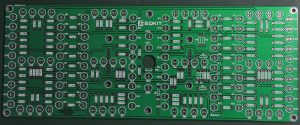
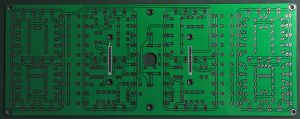
Now it is the time for soldering (actually a long hard time of soldering process!)
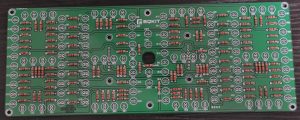
Finished soldering the resistors. Now start soldering the LEDs.
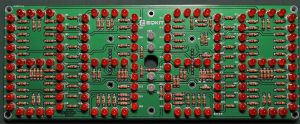
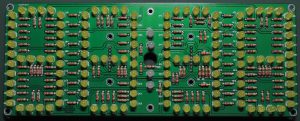
All the LEDs including the header that will snap with the clock PCB has been soldered. At the back of the PCB there is lots of flux so we need to wash the PCB properly to make it look nicer. I have build another same kit but older version and the display is using yellow LEDs.
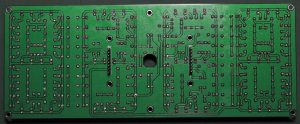
Above is the display PCB that has been washed. The display board is complete ! - IR Remote Control
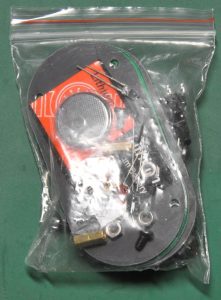
Lets unboxing the IR parts.
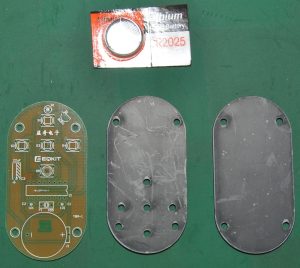
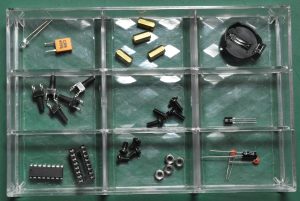
Not too much parts to assemble, it looks pretty easy and straight forward. It took about 30 minutes for me to assemble it as I like to fit those components neat !
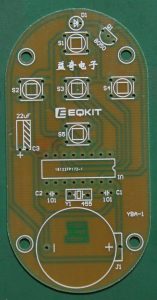
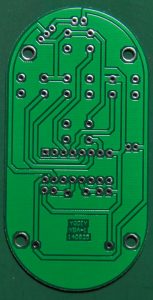
The PCB quality looks the same, but the IR PCB is single layer PCB. Now it is time for soldering.
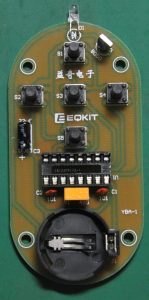
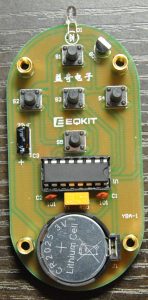
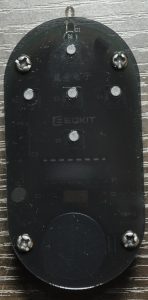
Finished soldering process, the left pic shown the soldered PCB without the IC and battery implemented yet, the middle pic shown all components implemented and the right pic shown the IR has been finished assembled with case. - Putting the clock together
Now it is the time to put the clock pcb and the display together.
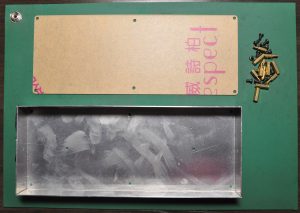
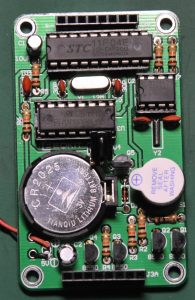
The assembly is pretty simple and straight forward.
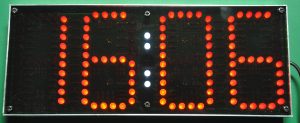
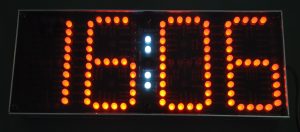
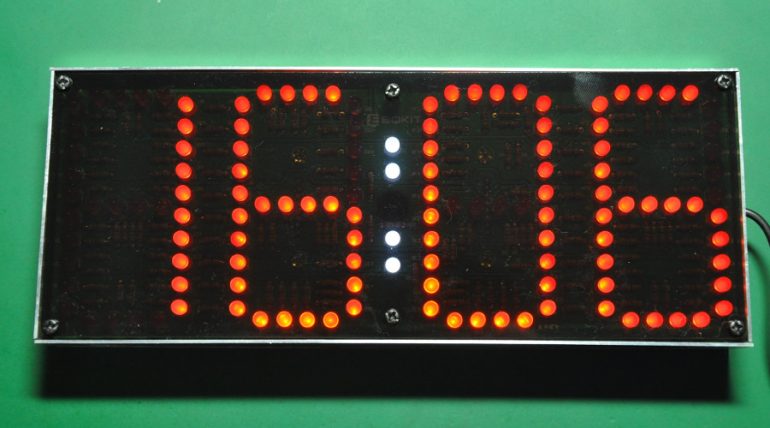
On the left is the clock that has been completed, and on the right is the view in the dark.
My conclusion is this clock looks awesome !


