After playing with rc2014 computer for a while (about a year now), I think it would be interesting to build the mini version of the rc2014. I have bought this kit a while ago, but never had a time to put it together. Since I have build some of Dr. Scott M. Baker modules, this time I decided to build this rc2014 mini kit.
So, lets start by doing the unboxing.
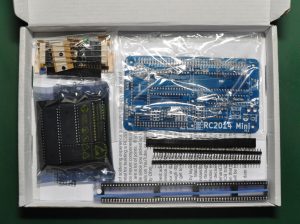
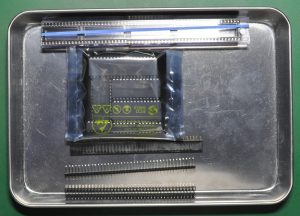
Here is the package that I received. The shipping cost is very cheap and the package is compact. All ICs and sockets are packed well. There is also a nice manual included.
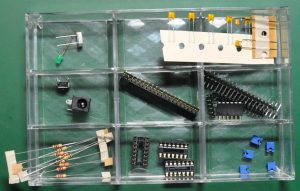
Below are the components that need to be soldered. All ics have sockets included.
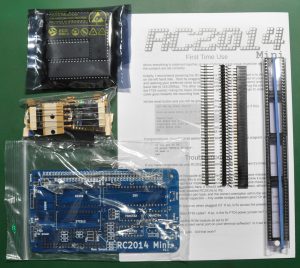
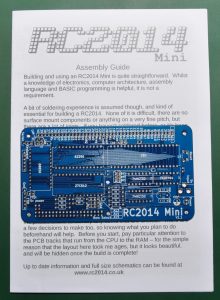
A very nice looking manual is also included in the package.
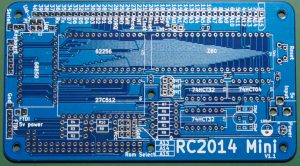
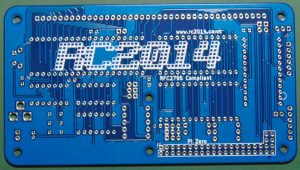
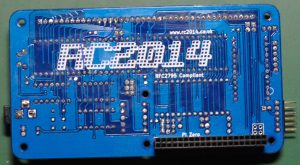
Here is the PCB included. It looks very nice. Now its time to put all the components together.
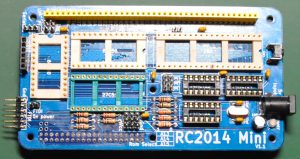
Here is the PCB with finished soldering. I will try to clean the flux so it will look nice and clean. Please note that i am using custom IC sockets for the cpu, ram and rom.
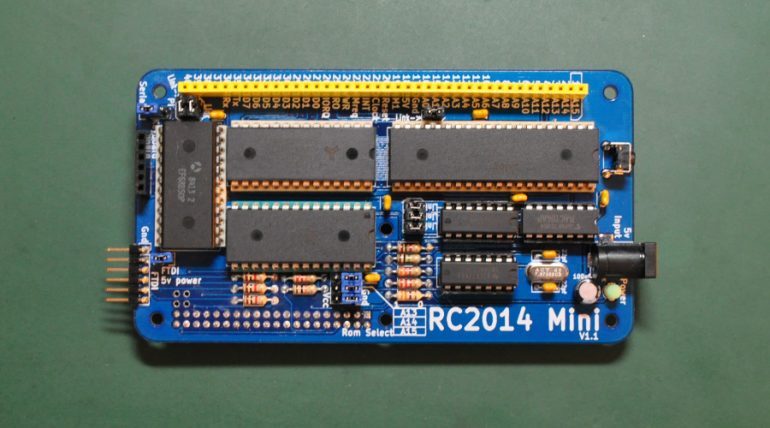
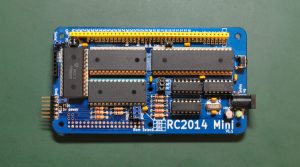
Here is the finished board with all the ICs implemented. I use 40 pins yellow socket for the rc2014 bus. Looks like everything done, let’s try to power up the computer.
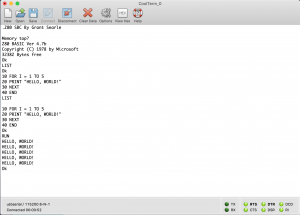
Below is a demo running the default rom with Microsoft basic. Successfully run a simple basic program.
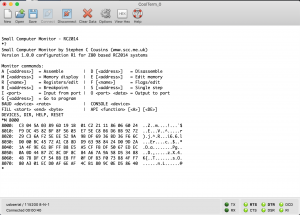
I also try to run the Small Computer Monitor by Stephen C Cousins (link here) and it runs very well with no problem. We can only use 8k of ROM as the glue logic of the memory addressing limited to this configuration.
From here, I think I will use this rc2014 mini for debugging monitor or testing new boards in the future.


