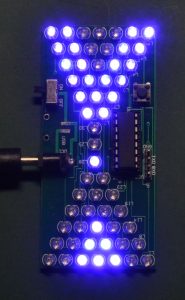
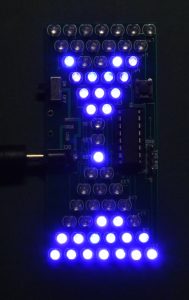
Here is another project that I want to build. I bought this sand clock kit from eBay, very cheap and shipped from China. It don’t take much time to arrive, this time is for about 2 weeks. Now I want to put this kit together, lets start from inspecting the package.
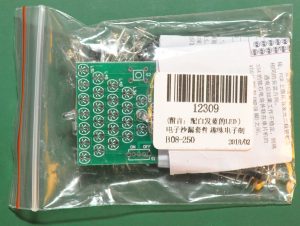
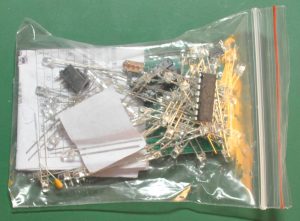
As usual, kits from China came like this, not too bad but sometime the IC legs are bended. But that will not cause a big problem as we can fix it very easy. Let’s unboxing the package.
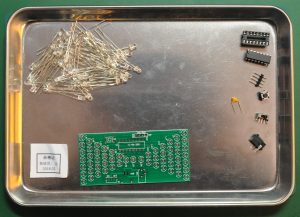
Not much components here, lots of led’s, an IC headers and switches. As I checked, I don’t know where the footprint of the capacitor included, so I decided not to implement the caps for now.
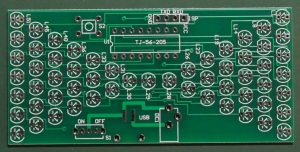
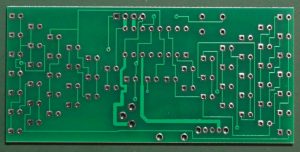
Here is the pcb, it looks like it was fabricated with the cheap fabrication company, but reasonable as this kit is really cheap. Now it is the time to put all the components together.
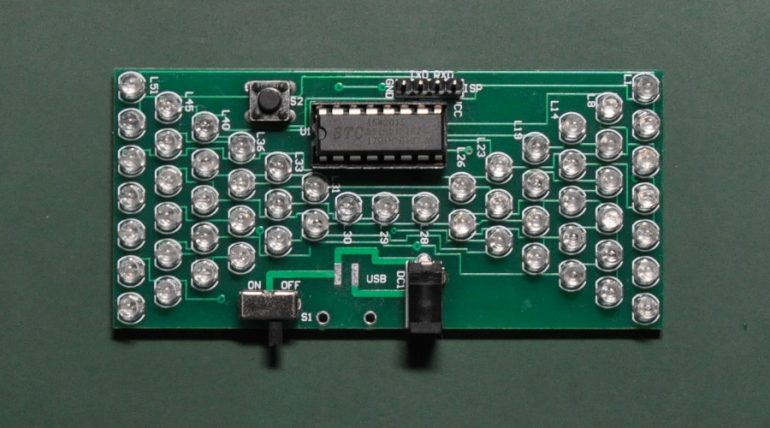
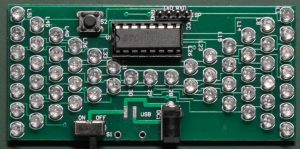
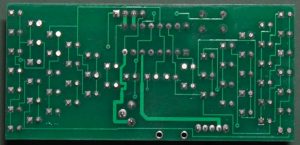
So here is the finished board. I had some problem at first soldering the led, but after that there is no big problem at all. I have cleaned up the pcb with pcb cleaner. Now it is the time to make some smoke test.
Looks like everything works as expected. Overall nothing hard on assembling this kit except I have to replace one of the led as it not light up after I make 2-3 tests. I don’t know why, maybe the led is broken when I soldering it so I just replace it. The led came with some extras (for me 4 extra leds), so it should be ok to missed up 2 or 3 led’s when assembling.
Note that when soldering the led’s, don’t apply the heat too long as I found the led’s is not as other led’s. It will melt when we apply heat for longer time. One more thing, I not implemented the capacitor included but the kit works with no problem at all.
Overall, nice kit for soldering exercise.


